Creating a React Native app using Expo
Expo is a set of tools, libraries and services which let you build native iOS and Android apps by writing JavaScript.
Expo apps are React Native apps which contain the Expo SDK.This SDK provides access to device's system functionality (things like the camera, contacts, local storage, and other hardware).
It also makes your pure-JS project very portable because it can run in any native environment containing the Expo SDK.
The Expo also provides UI components to handle a variety of use-cases that almost all apps will cover.This SDK provides access to services which typically are a pain to manage but are required by almost every app.
Ex. Manage your Assets, Handling Push Notifications.
1. Installation
To develop an apps with expo we need two important tools.
- A local development tool
- A mobile client to open app
Local Development Tool: XDE (or exp)
XDE stands for Expo Development Environment. It is a standalone desktop app that includes all dependencies you'll need to get started.
Download the latest version of XDE for macOS ,Windows (64-bit),Linux.
On Linux, open with chmod a+x xde*.AppImage and ./xde*.AppImage
Mobile Client: Expo for iOS and Android
Expo client helps to view apps while developing.When you run your project from XDE or exp, it generates a development URL that you can open in Expo Client to preview your app.
2. Creating a first app
When i opening the expo development tool in a computer it shows screen like below
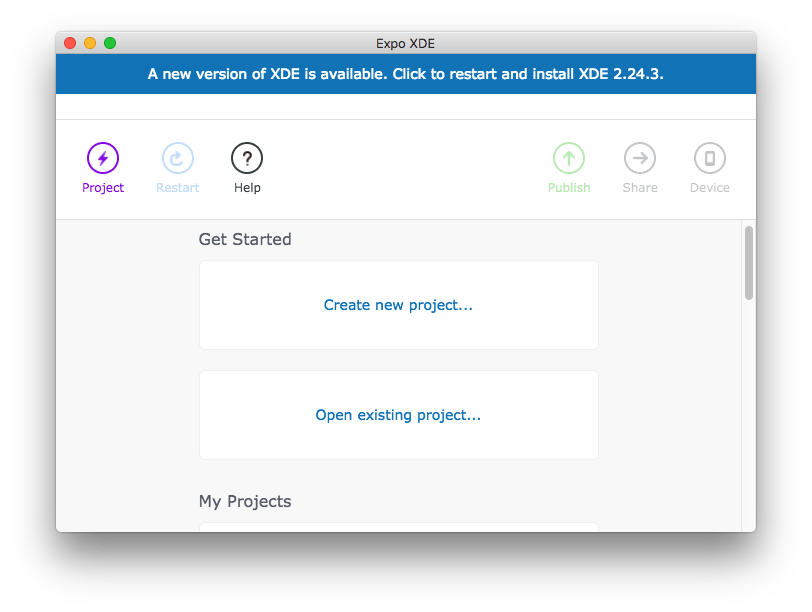
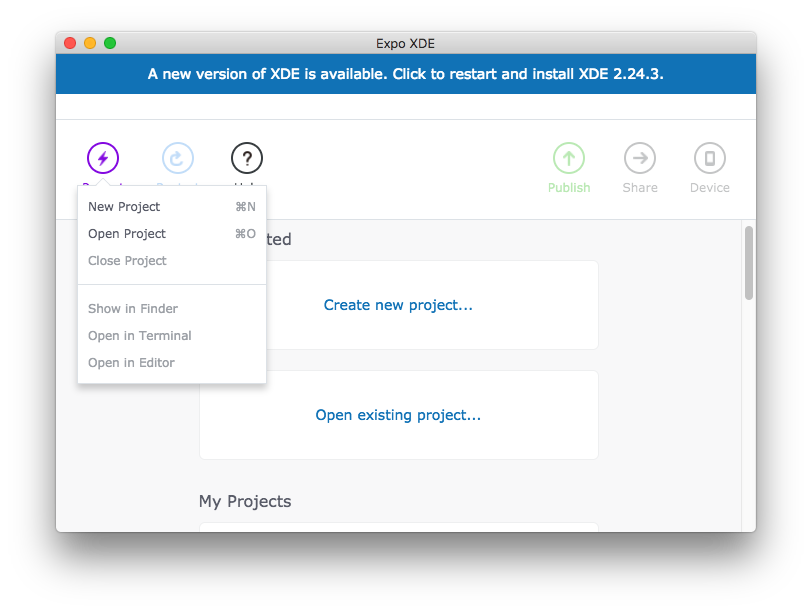
Click "Project" menu in expo tool, it will show a dropdown with options.
New Project- To create a new project
Open Project- To open an existing project
Click "New Project". After that it will ask for a project template either blank or Tab Navigation and choose project name and directory.
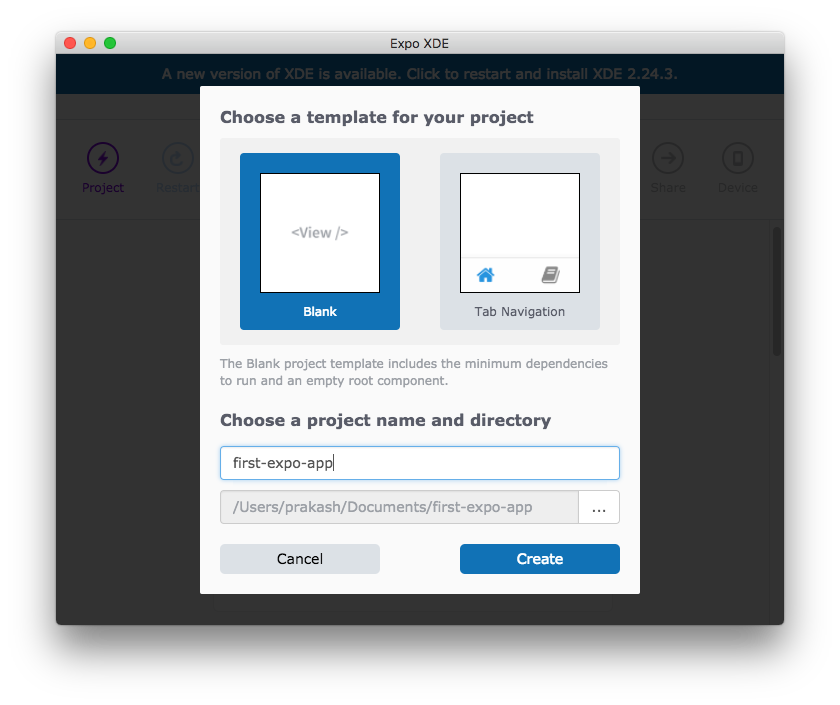
Then it downloads project files and extract it in a folder with project name.Expo tool automatically create a folder and files needed and finally run the app.
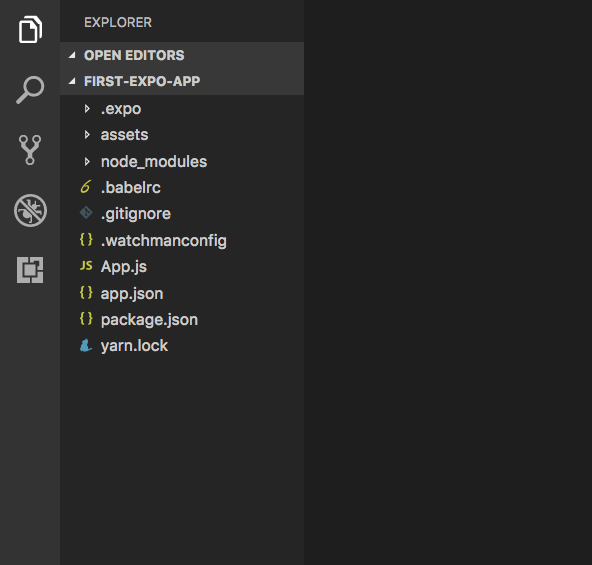
Note:
First we need to check package.json file to verify that stable version of a React native and other packages installed.
Suppose if you are going to use other npm packages. You need to install npm into your project.
App.js
import React from 'react';
import { StyleSheet, Text, View } from 'react-native';
export default class App extends React.Component {
render() {
return (
<View style={styles.container}>
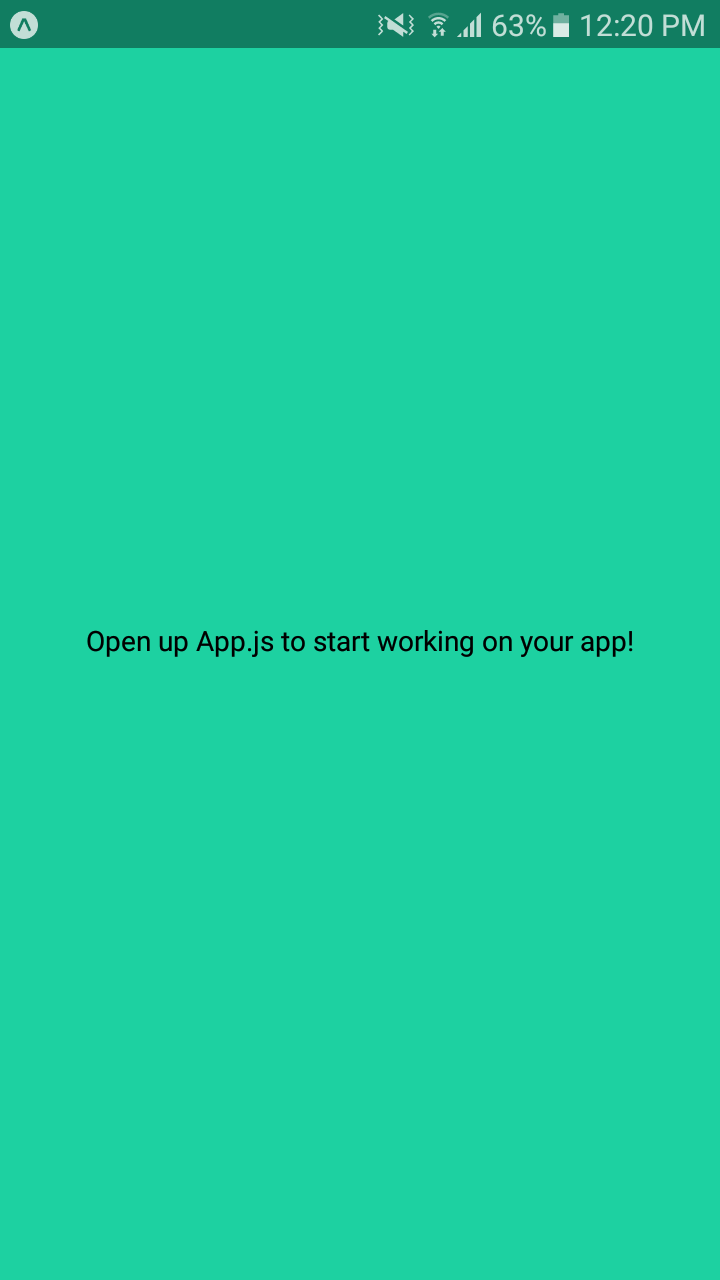
<Text>Open up App.js to start working on your app!</Text>
</View>
);
}
}
const styles = StyleSheet.create({
container: {
flex: 1,
backgroundColor: '#1dd1a1',
alignItems: 'center',
justifyContent: 'center',
},
});
My initial screen
3. Configure app.json
You can configure about your app name, icon and splash image, description and others also.
{
  "expo": {
    "name": "first-expo-app",
    "description": "This project is really great.",
    "slug": "first-expo-app",
    "privacy": "public",
    "sdkVersion": "25.0.0",
    "platforms": ["ios", "android"],
    "version": "1.0.0",
    "orientation": "portrait",
    "icon": "./assets/icon.png",
    "splash": {
      "image": "./assets/splash.png",
      "resizeMode": "contain",
      "backgroundColor": "#ffffff"
    },
    "updates": {
      "fallbackToCacheTimeout": 0
    },
    "assetBundlePatterns": [
      "**/*"
    ],
    "ios": {
      "supportsTablet": true
    }
  }
}