Capture image using React native Expo app
1. Create a new app using Expo development tool
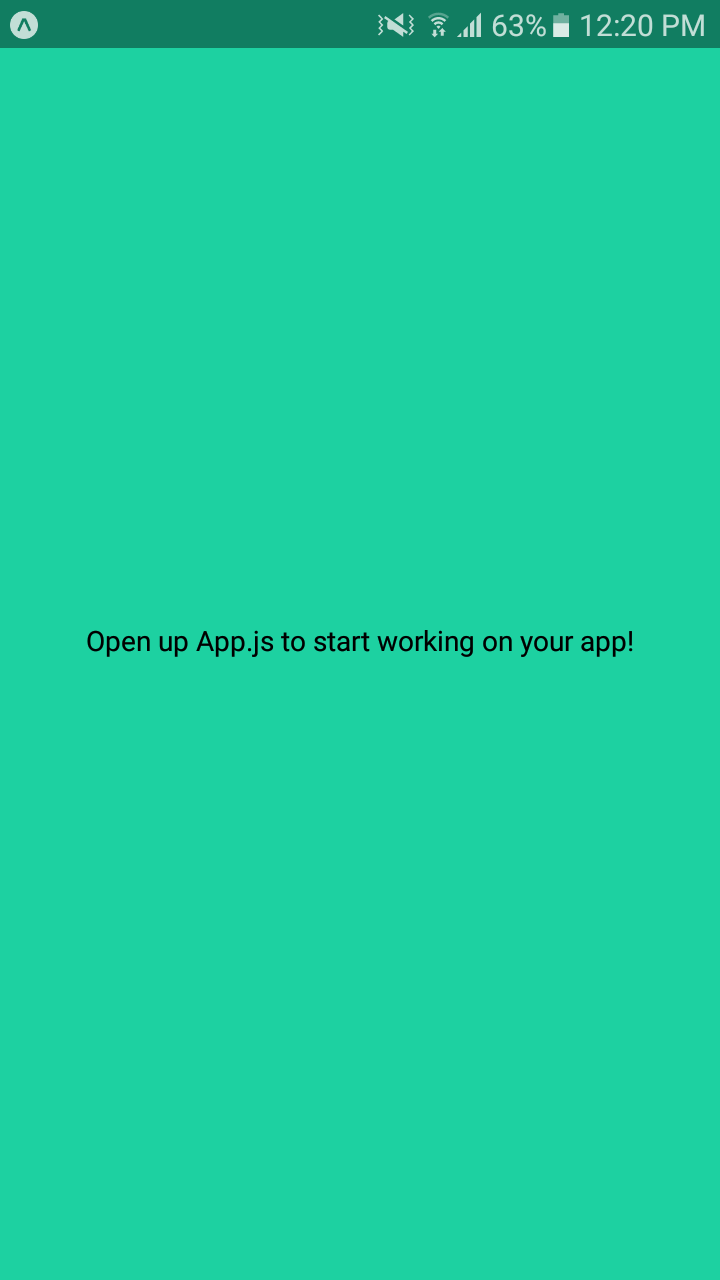
In previous session,we saw how to create a new React native app using expo tool.Using the same steps here i am gonna create a new app.
2. Create a screen with components
import React from "react";
import { StyleSheet, Text, View, Switch } from "react-native";

export default class App extends React.Component {
  state = { switchValue: false };

  render() {
    return (
      <View style={styles.container}>
        <View style={styles.switchview}>
          <Text>Show camera</Text>
          // Create switch component and change switch value when clicking
          <Switch
              onValueChange={value => {
                this.setState({ switchValue: value });
              }}
              value={this.state.switchValue}
              style={styles.switch}
          />
        </View>
        // Checking condition and render correspondingly
        {this.state.switchValue ? (
          <View style={styles.cameraview}>
            <Text>Camera on</Text>
          </View>
        ) : (
          <View style={styles.cameraview}>
            <Text>Camera off</Text>
          </View>
        )}

      </View>
    );
  }
}
const styles = StyleSheet.create({....});
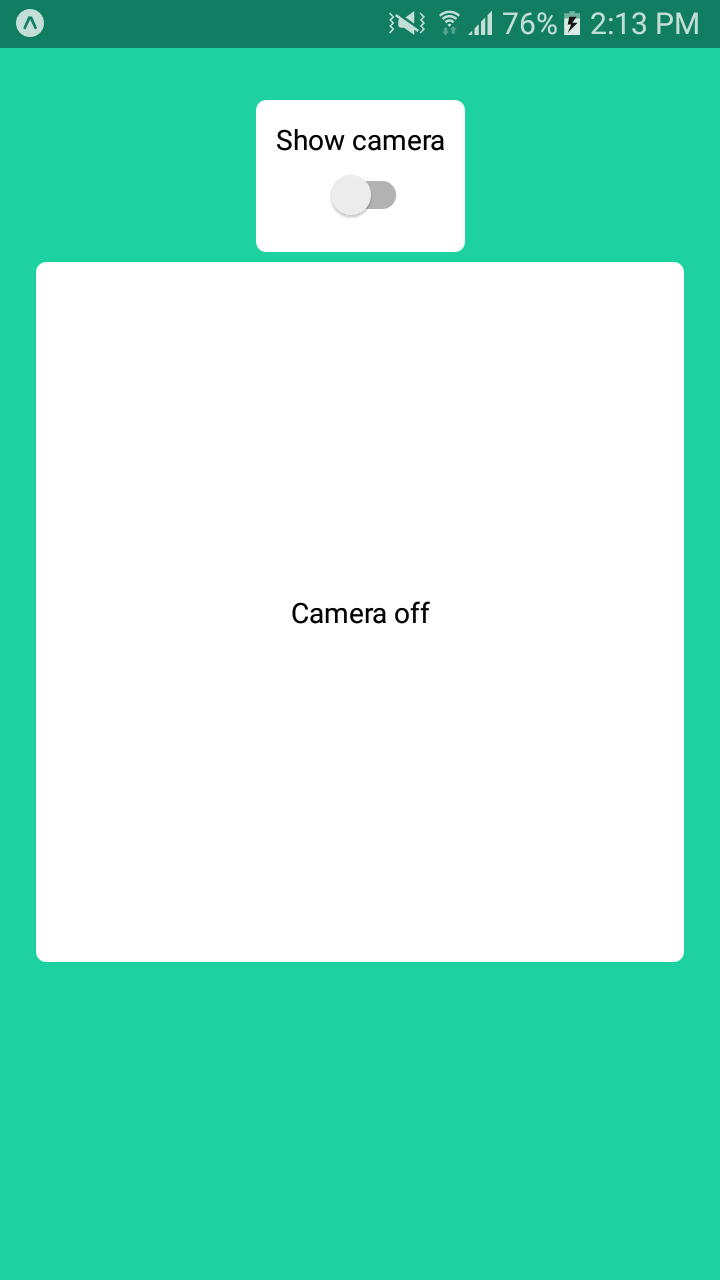
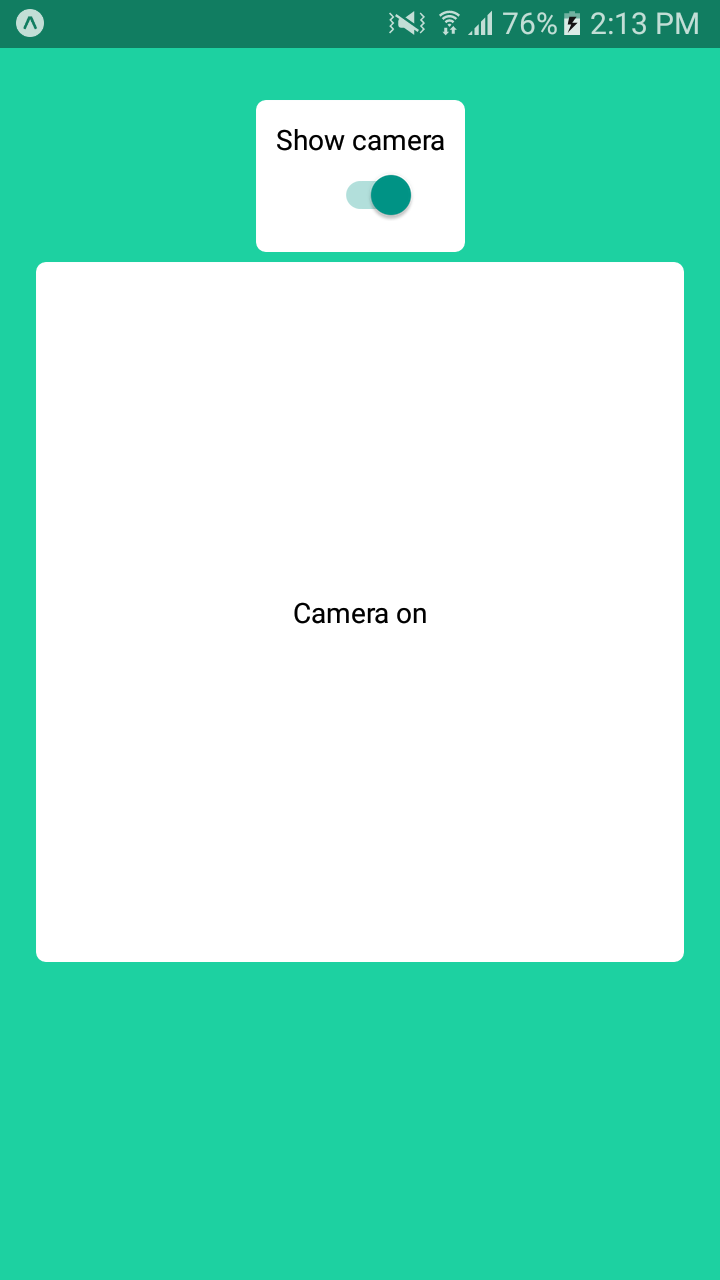
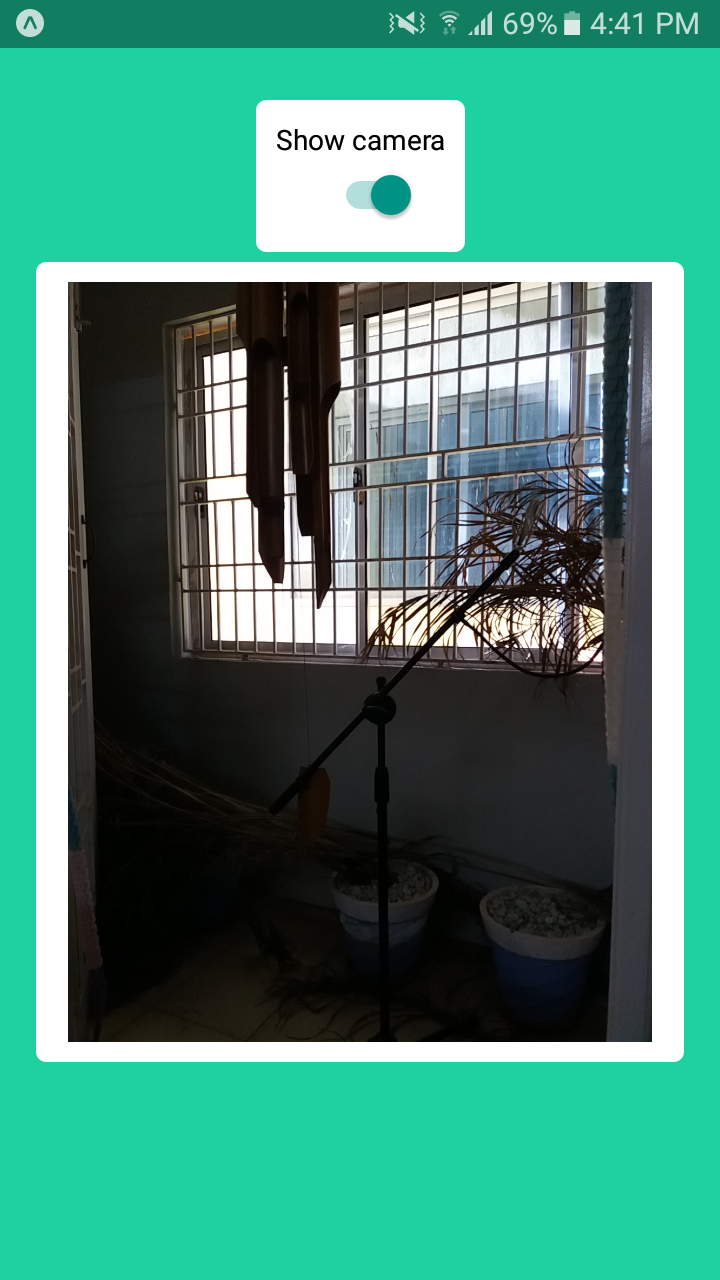
Here i am creating a switch component which return true or false when changing them.When changing to true it will show "Camera on" or otherwise it will show "Camera off" text.
3. Create and configure Camera component
A Camera component shows preview of the device's either front or back camera.
Camera's parameters like zoom, auto focus, white balance and flash mode are adjustable.
It one can also take photos and record videos that are saved to the app's cache.
Note: Requires Permissions.CAMERA. Video recording requires Permissions.AUDIO_RECORDING.
How to add Permissions to Expo react native app?
//When you are trying to access potentially sensitive information on user's
//device before that you need to ask their PERMISSIONS.

//You can add permissions using app.json file.
//add these key value pair to app.json

// ... other code from the previous section(app.json)
"ios": {
  "supportsTablet": true,
  "permissions": ["CAMERA"]
},
"android": {
  "permissions": ["CAMERA"]
}
// ... other code from the previous section
i. Create state variables and verify Camera Permission.
import { Camera, Permissions } from 'expo';

// ... other code from the previous section
state = {
  switchValue: false ,
  hasCameraPermission: null, //Permission value
  type: Camera.Constants.Type.back, //specifying app start with back camera.
};

async componentWillMount() {
  //Getting Permission result from app details.
  const { status } = await Permissions.askAsync(Permissions.CAMERA);
  this.setState({ hasCameraPermission: status === 'granted' });
}
// ... other code from the previous section
ii. Render components based on conditions.
First we are getting Permission value in a constant variable "hasCameraPermission". Suppose the permission was denied ( hasCameraPermission == false ) then render function show "else if" condition block.
So we can see a text "No access to camera" in a screen.
// ... other code from the previous section

render() {
  const { hasCameraPermission } = this.state;
  if (hasCameraPermission === null) {
    return <View />;
  } else if (hasCameraPermission === false) {
    return (
      <View>
        <Text>No access to camera</Text>
      </View>
    );
  } else {
    return (
      <View style={styles.container}>
        <View style={styles.switchview}>
          <Text>Show camera</Text>...

// ... other code from the previous section
If permission was grandted we need to show Camera component.We need to configure camera with options.
iii. Create and Configure a Camera component
// ... other code from the previous section

<View style={styles.cameraview}>
  <Camera style={styles.camera} type={this.state.type} />
</View>

// ... other code from the previous section
This Camera component without configuration will show you camera preview.
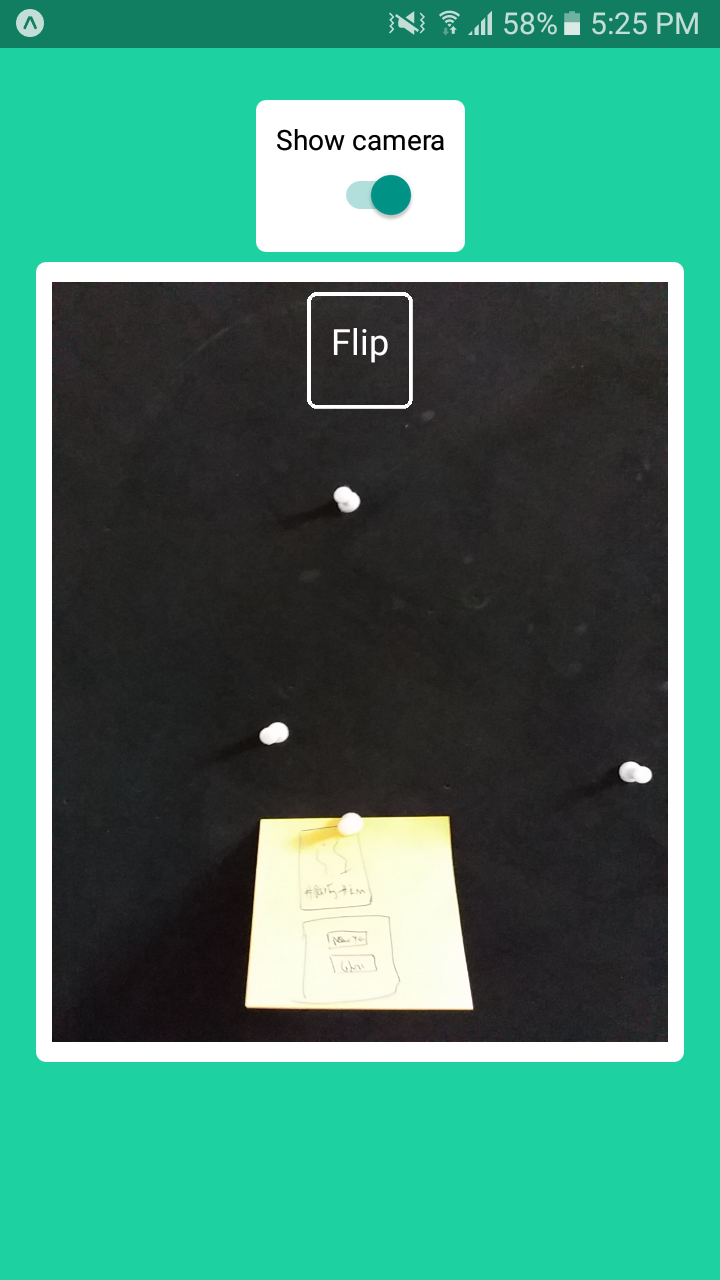
Next i am gonna create a camera "flip" button to switch between front and back camera.You can create buttons inside camera preview.
// ... other code from the previous section

<Camera style={styles.camera} type={this.state.type}>
<View style={styles.camerabuttonview}>
  <TouchableOpacity
    style={styles.cameraButtons}
    onPress={this.cameraChange}
  >
    <Text
      style={{ fontSize: 18, marginBottom: 10, color: "white" }}
    >
      Flip
    </Text>
  </TouchableOpacity>
</View>
</Camera>

// ... other code from the previous section
And then we need to write a cameraChange function to implement camera switching between front and back.
// ... other code from the previous section

cameraChange = () => {
  this.setState({
    type:
      this.state.type === Camera.Constants.Type.back
        ? Camera.Constants.Type.front
        : Camera.Constants.Type.back
  });
};

// ... other code from the previous section
4. Capturing the image and store it in app's cache
To use methods that Camera exposes one has to create a components ref and invoke them using it.
// ...
<Camera ref={ref => { this.camera = ref; }} ...
// ...
snap = async () => {
if (this.camera) {
let photo = await this.camera.takePictureAsync();
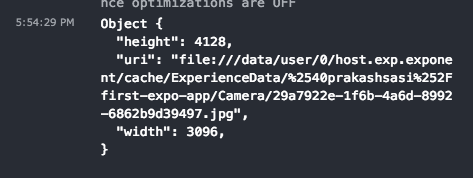
console.log(photo);
}
};
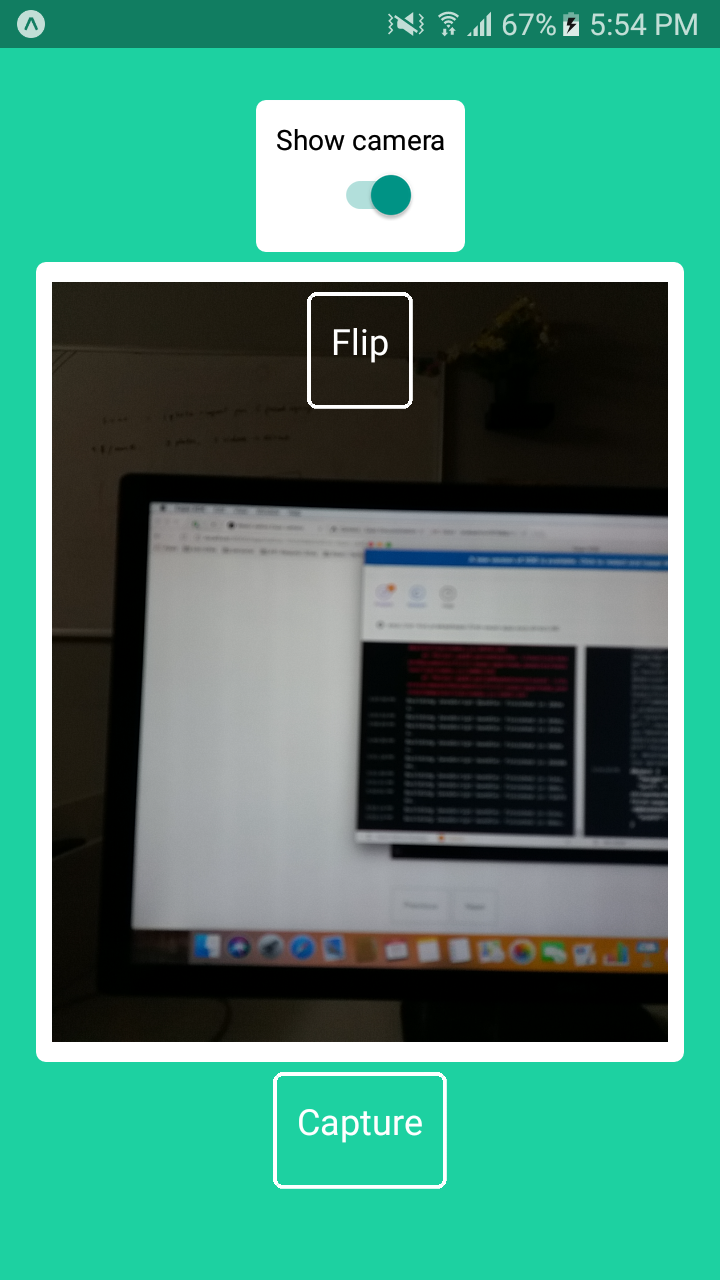
Result from captured image saved in app's cache and return it as a result object.We can get our image url from result.