Upload captured image into amazons3
App.js file(for reference): Reactnative+S3+Imageupload
1. Create a new app using Expo development tool
In previous session,we saw how to create a new React native app using expo tool.Using the same steps here i am gonna create a new app.

2. Create a camera preview using Expo camera component and capture picture
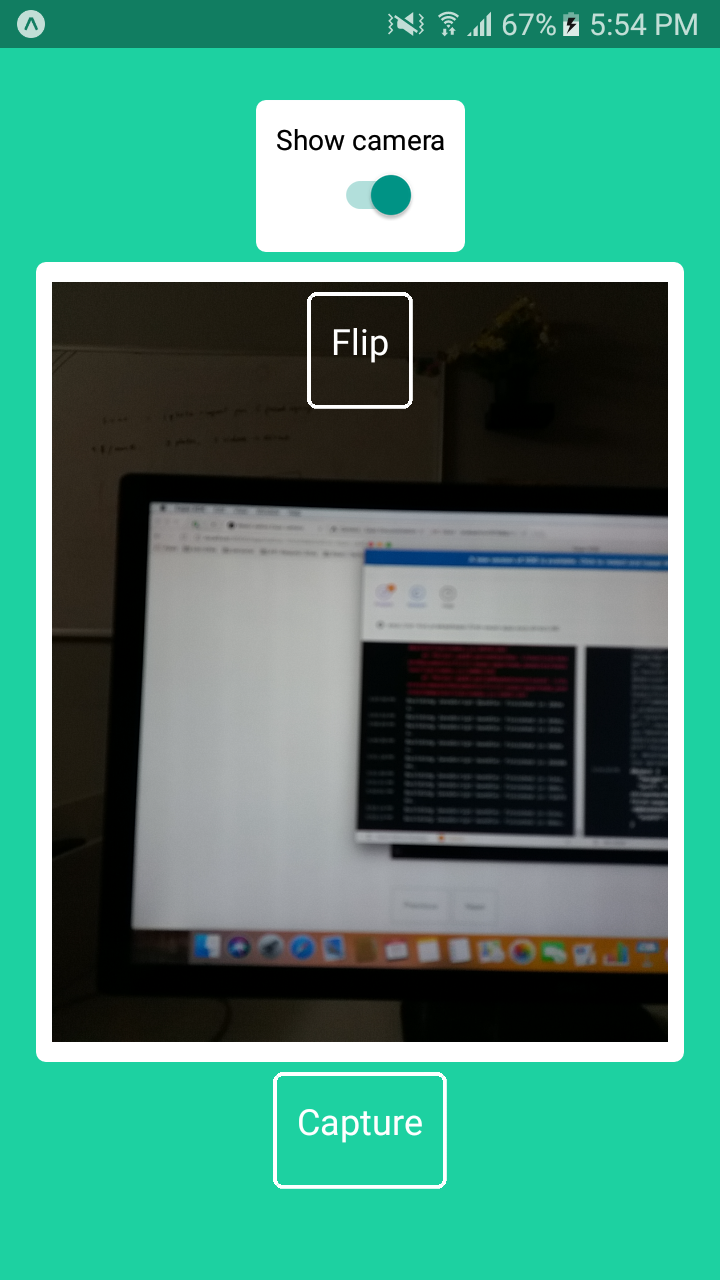
I already wrote a guide about how to create a Expo app and how to create and capture picture using Camera.

3. Upload pictures using React native AWS S3
Here i am going to use the package benjreinhart/react-native-aws3.
Installation: npm install --save react-native-aws3
i. Import package,give correct values to amazon s3 bucket
import { RNS3 } from 'react-native-aws3';

const options = {
  keyPrefix: "uploads/",
  bucket: "your-bucket",
  region: "us-east-1",
  accessKey: "your-access-key",
  secretKey: "your-secret-key",
  successActionStatus: 201
}
Next we need to give file path.File name and type is important when uploading files into s3.
const file = {
  // uri can also be a file system path (i.e. file://)
  uri: "assets-library://asset/asset.PNG?id=655DBE66-8008-459C-9358-914E1FB532DD&ext=PNG",
  name: "image.png",
  type: "image/png"
}
Next we need upload image by passing file and options to a function.
RNS3.put(file, options).then(response => {
  if (response.status !== 201)
    throw new Error("Failed to upload image to S3");
  console.log(response.body);
  /**
   * {
   *   postResponse: {
   *     bucket: "your-bucket",
   *     etag : "9f620878e06d28774406017480a59fd4",
   *     key: "uploads/image.png",
   *     location: "https://your-bucket.s3.amazonaws.com/uploads%2Fimage.png"
   *   }
   * }
   */
});
4. Now we have to integrate our app with this package functionality
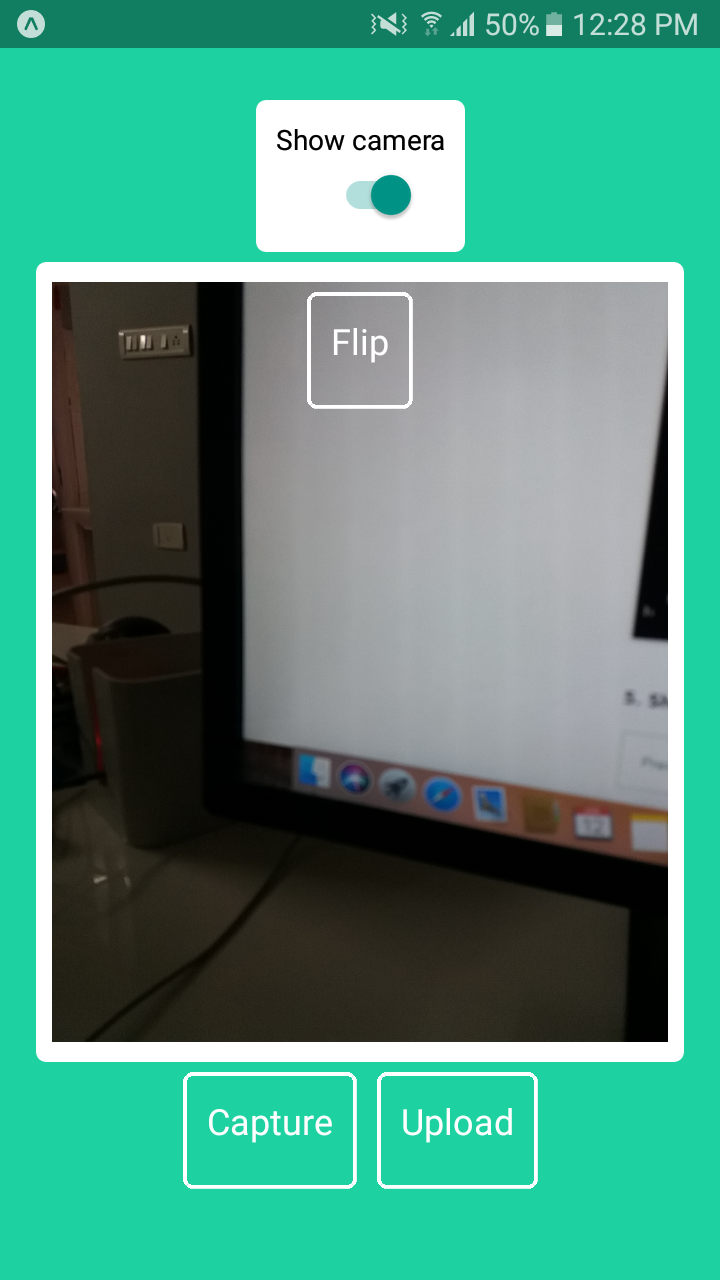
Add another button called "Upload" in the screen.And invoke "upload" function when it pressed.
App.js
// ... other code from the previous section

{this.state.switchValue ? (
  <View style={styles.buttonsView}>
    <View style={styles.captureButtonView}>
      <TouchableOpacity
        style={styles.cameraButtons}
        onPress={this.snap}
      >
        <Text
          style={{ fontSize: 18, marginBottom: 10, color: "white" }}
        >
          Capture
        </Text>
      </TouchableOpacity>
    </View>
    <View style={styles.captureButtonView}>
      <TouchableOpacity
        style={styles.cameraButtons}
        onPress={this.upload}
      >
        <Text
          style={{ fontSize: 18, marginBottom: 10, color: "white" }}
        >
          Upload
        </Text>
      </TouchableOpacity>
    </View>
  </View>
) : null}

// ... other code from the previous section
Then we need to write a upload function.
Create a state variable called imageuri to store captured image and send them as input to s3 upload function "put".
Suppose if you successfully captured image and stored that into cache and imageuri state variable, RNS3.put will return the response which has results of image upload. From that result object we can find our uploaded amazon s3 uri.
upload = () => {
  const file = {
    uri: this.state.imageuri,
    name: 1523518218595.jpg,
    type: "image/jpeg"
  };
  const options = {
    keyPrefix: "ts/",
    bucket: "celeb-c4u",
    region: "eu-west-1",
    accessKey: "AKIAI2NHLR7A5W2R3OLA",
    secretKey: "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",
    successActionStatus: 201
  };
  return RNS3.put(file, options)
    .then(response => {
      if (response.status !== 201)
        throw new Error("Failed to upload image to S3");
      else {
        console.log(
          "Successfully uploaded image to s3. s3 bucket url: ",
          response.body.postResponse.location
        );
        this.setState({
          url: response.body.postResponse.location
        });
      }
    })
    .catch(error => {
      console.log(error);
    });
};
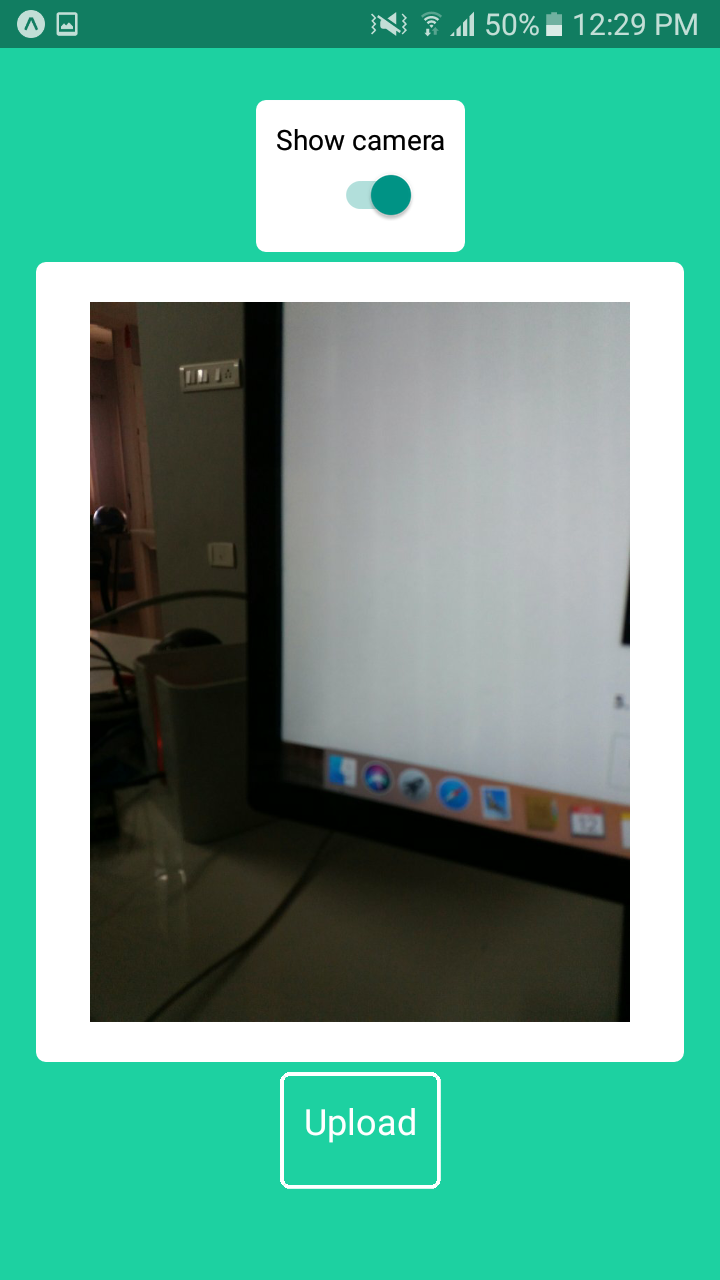
5. Show uploaded picture in the image component
For this i am going to check state variable "imageuri" if it's empty show nothing or show image.
Pass image url to Image component source property.
<Image
  source={{uri: this.state.imageuri}}
  style={styles.uploadedImage}
  resizeMode="contain"
/>

